
Phalaenopsis ORCHIDS
Phalaenopsis - Effortless elegance
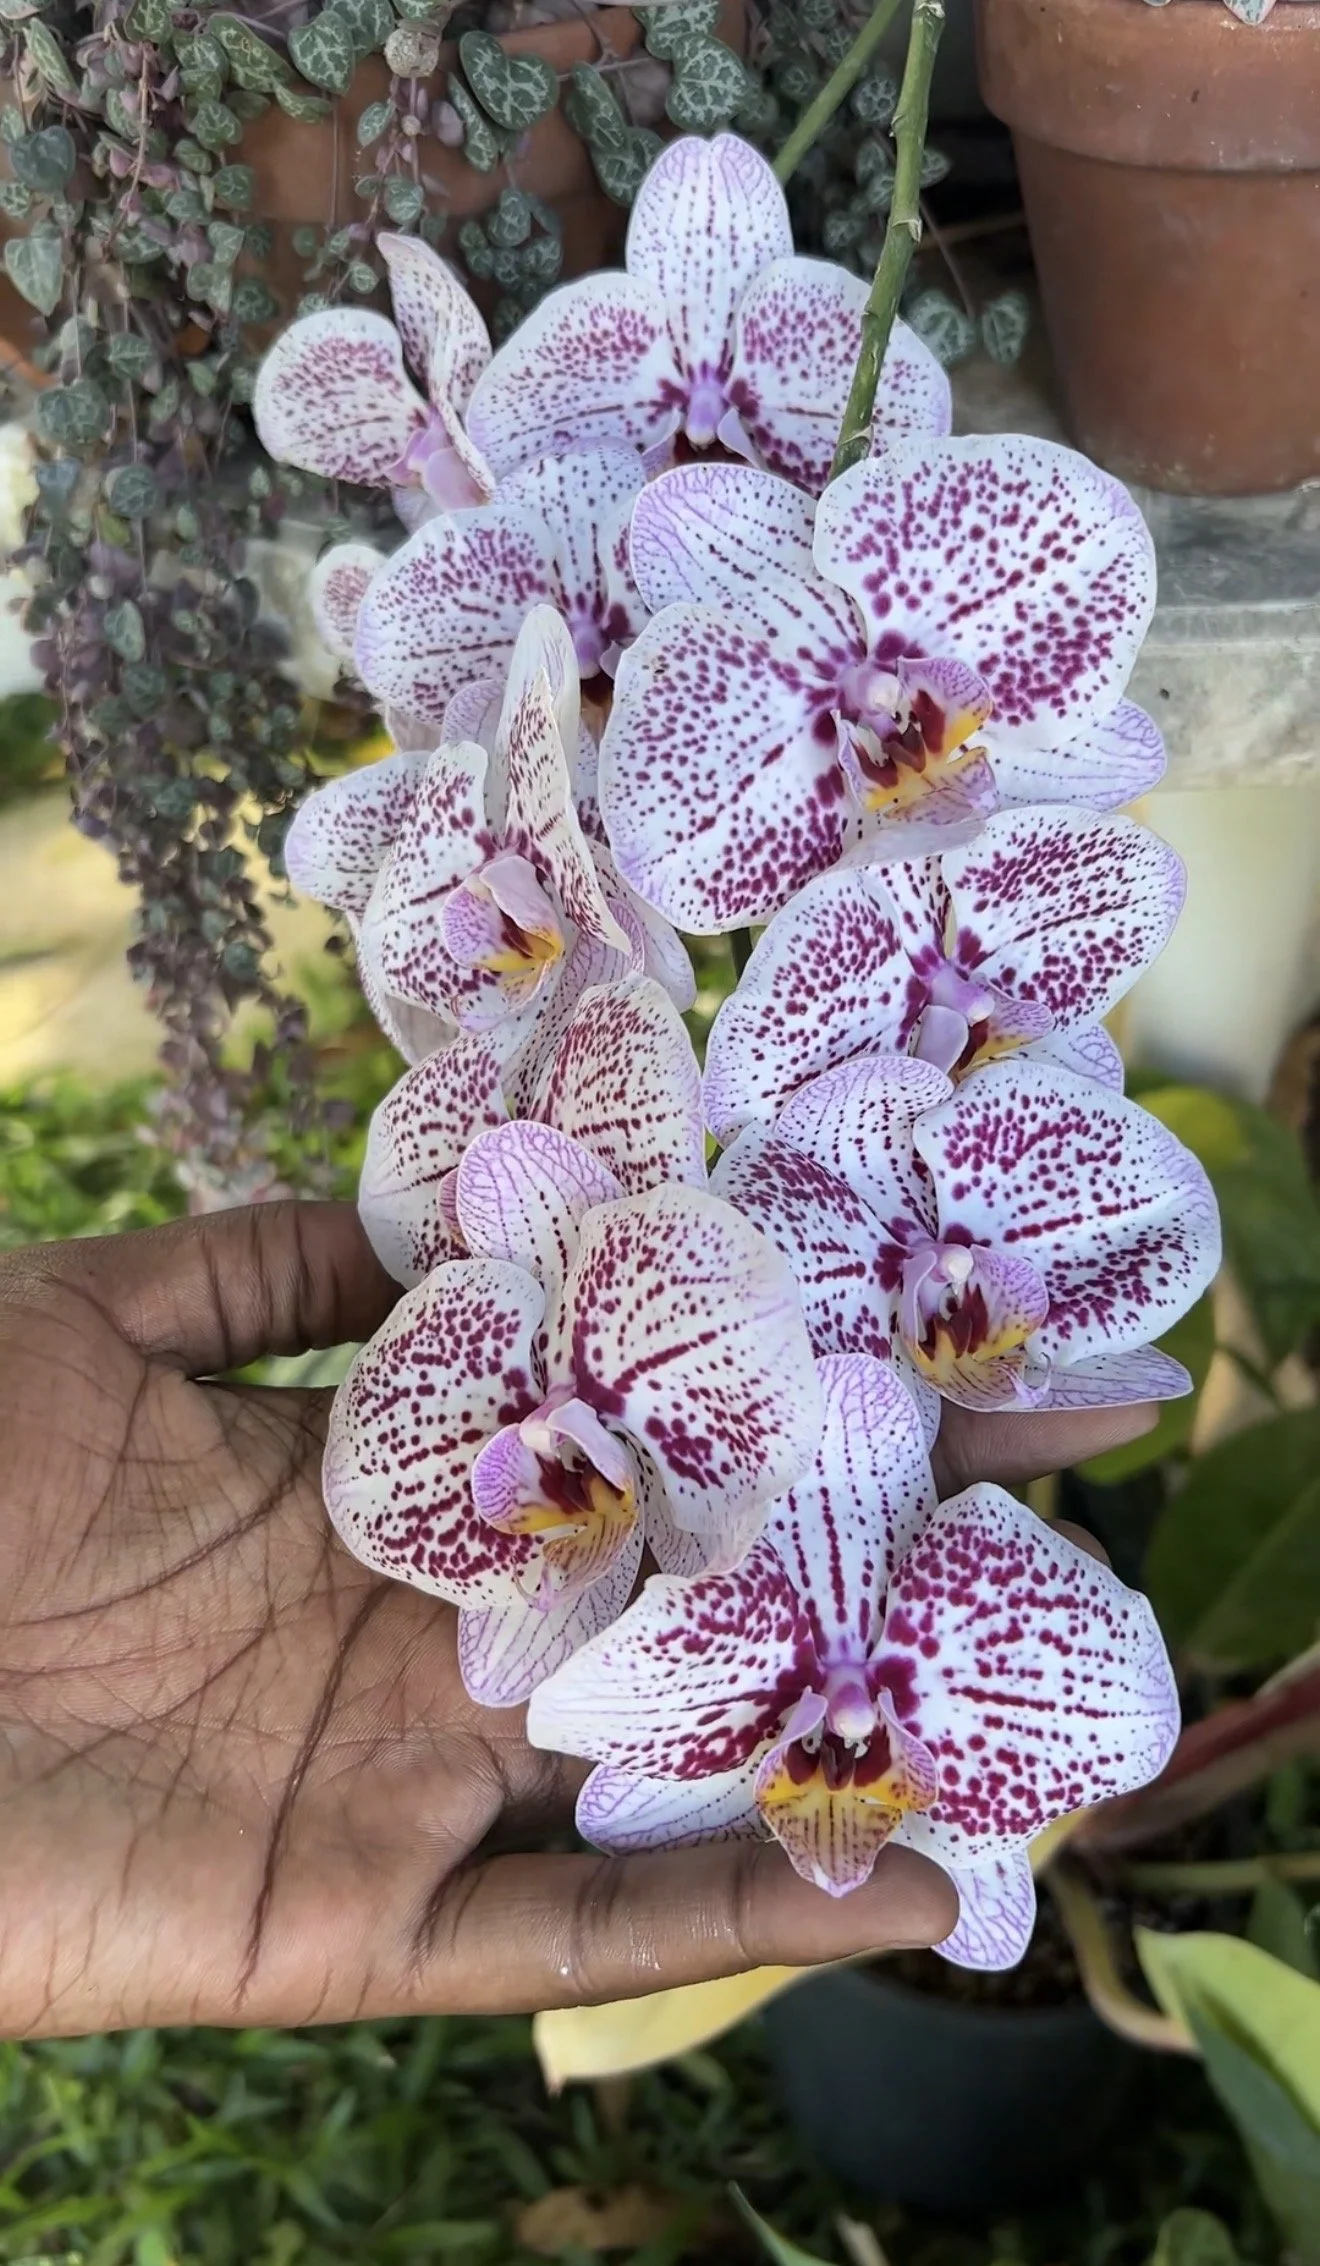
Perhaps no orchid is quite as timeless — or as instantly recognizable — as the Phalaenopsis. Graceful, refined, and wonderfully accessible, it has earned its reputation as the “gateway orchid”; often becoming the very first love of a new orchid collector.
Known as “the moth orchid” because of the delicate, wing-like shape of its blooms, Phalaenopsis carries an effortless elegance that feels both modern and classic at once. In nature, it is an epiphyte, growing gently upon trees rather than in soil, drawing moisture and nutrients from the air around it.
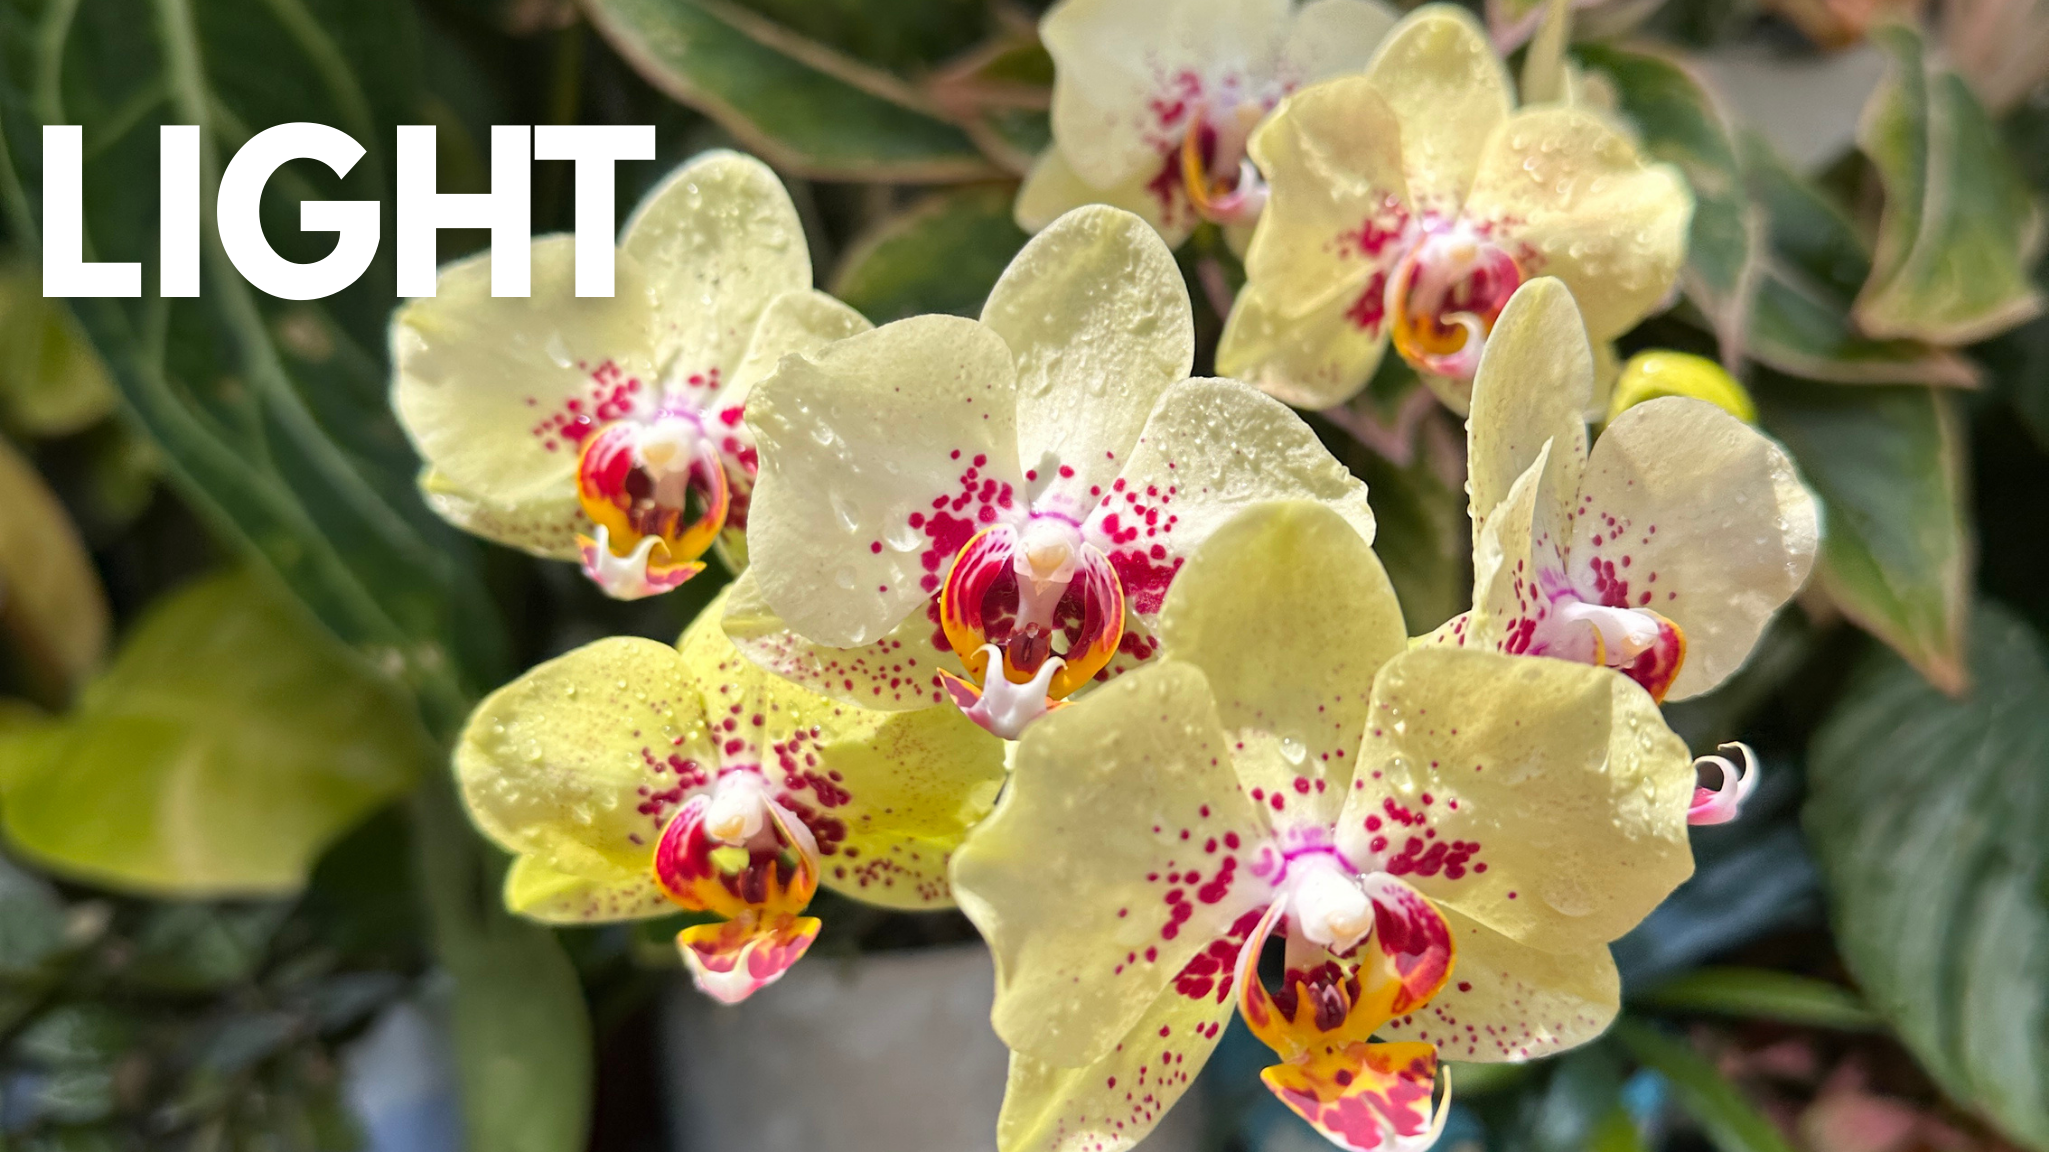
Here in the Caribbean, Phalaenopsis orchids require slightly more thoughtful placement than some of our sun-loving orchids.
They are notoriously good houseplants because they do not require extremely bright light. That is not to say they should ever be grown in the dark! Here are three locations where you can place your phal:
They thrive in cool areas of the veranda where they are protected from harsh midday sun. No direct sun is necessary and it can actually be detrimental to the plant.
Many growers prefer a cool section of the greenhouse covered in plastic to shield the plant from rainwater collecting in its crown — a critical detail for avoiding rot.
It is very common to grow phals mounted on trees, where they are receiving shade and dappled light. NB: In this case the plants should be planted at an angle to prevent water from settling in the crowns.
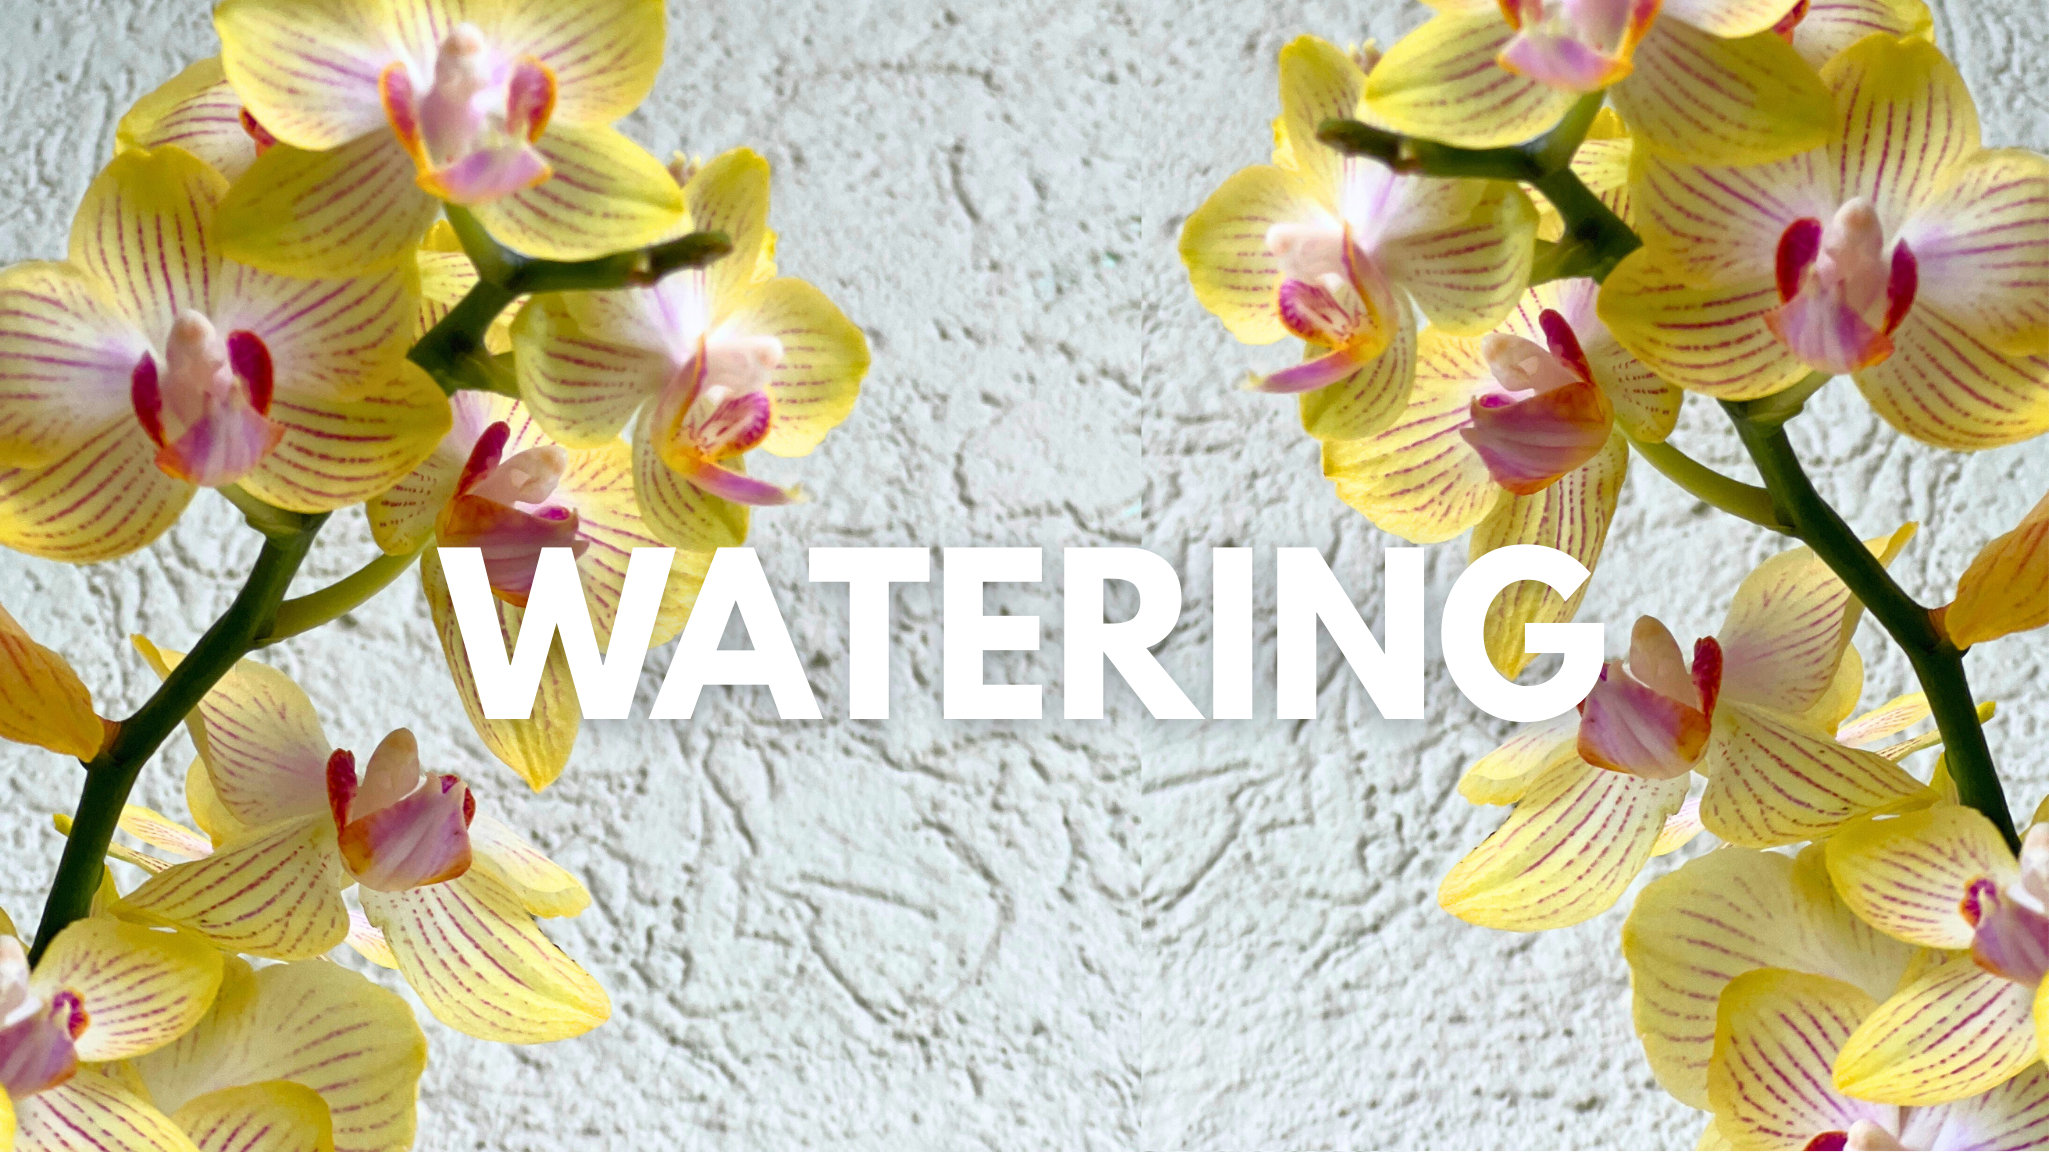
Water thoroughly when the potting mix is almost dry, usually about once a week, though this can vary depending on temperature and pot size. In warm conditions plants may need watering more often, while in cooler weather they will need less. Good drainage and airflow are essential to keep roots healthy.
When watering, soak the potting mix well so water flows freely from the drainage holes. This ensures all the roots receive moisture. Avoid letting the plant sit in standing water. Always try to keep water out of the crown (the center of the leaves), as trapped moisture can lead to crown rot. If water collects there, gently blot it away with tissue.
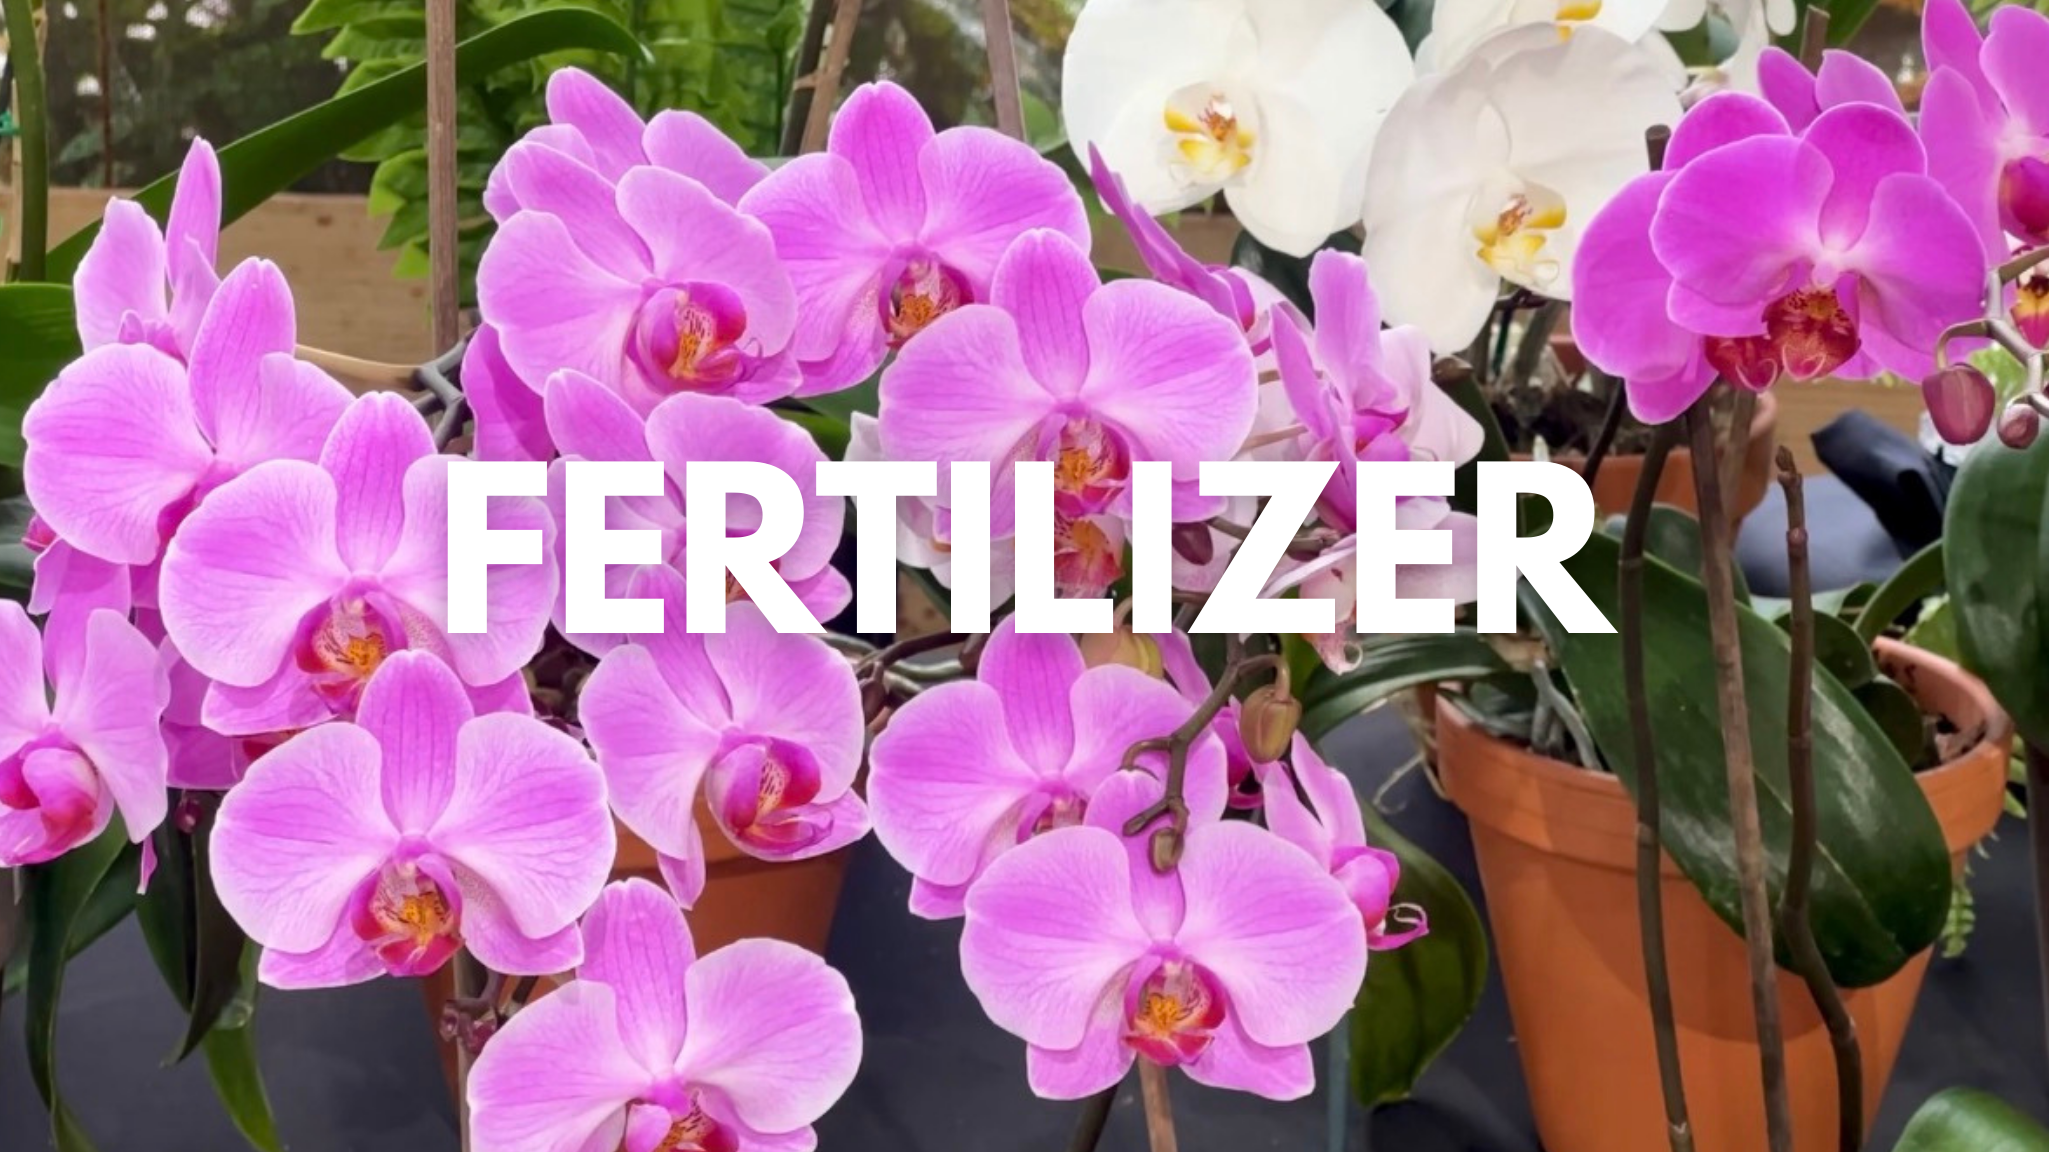
After their blooming period, typically from December to March, Phalaenopsis enter a brief rest between March and May. Fertilizing can begin again from April through June using a balanced formula such as 5-15-5 or 20-20-20 at half a teaspoon per gallon weekly. From September to November, a higher nitrogen fertilizer such as 30-10-10 encourages strong vegetative growth. As the flowering season approaches, from November to February, switching to a blossom booster like 10-30-10 supports spike and bud development. Always follow manufacturer recommendations for dosage.
It is important to note that NO fertilizer can make an orchid bloom outside of its season. It is not a magic potion but rather a tool to aid in good growth. Understanding whether or not your plant is a species that blooms once a year or a hybrid capable of blooming 4 times a year is crucial to avoiding disappointment. Research your plant!
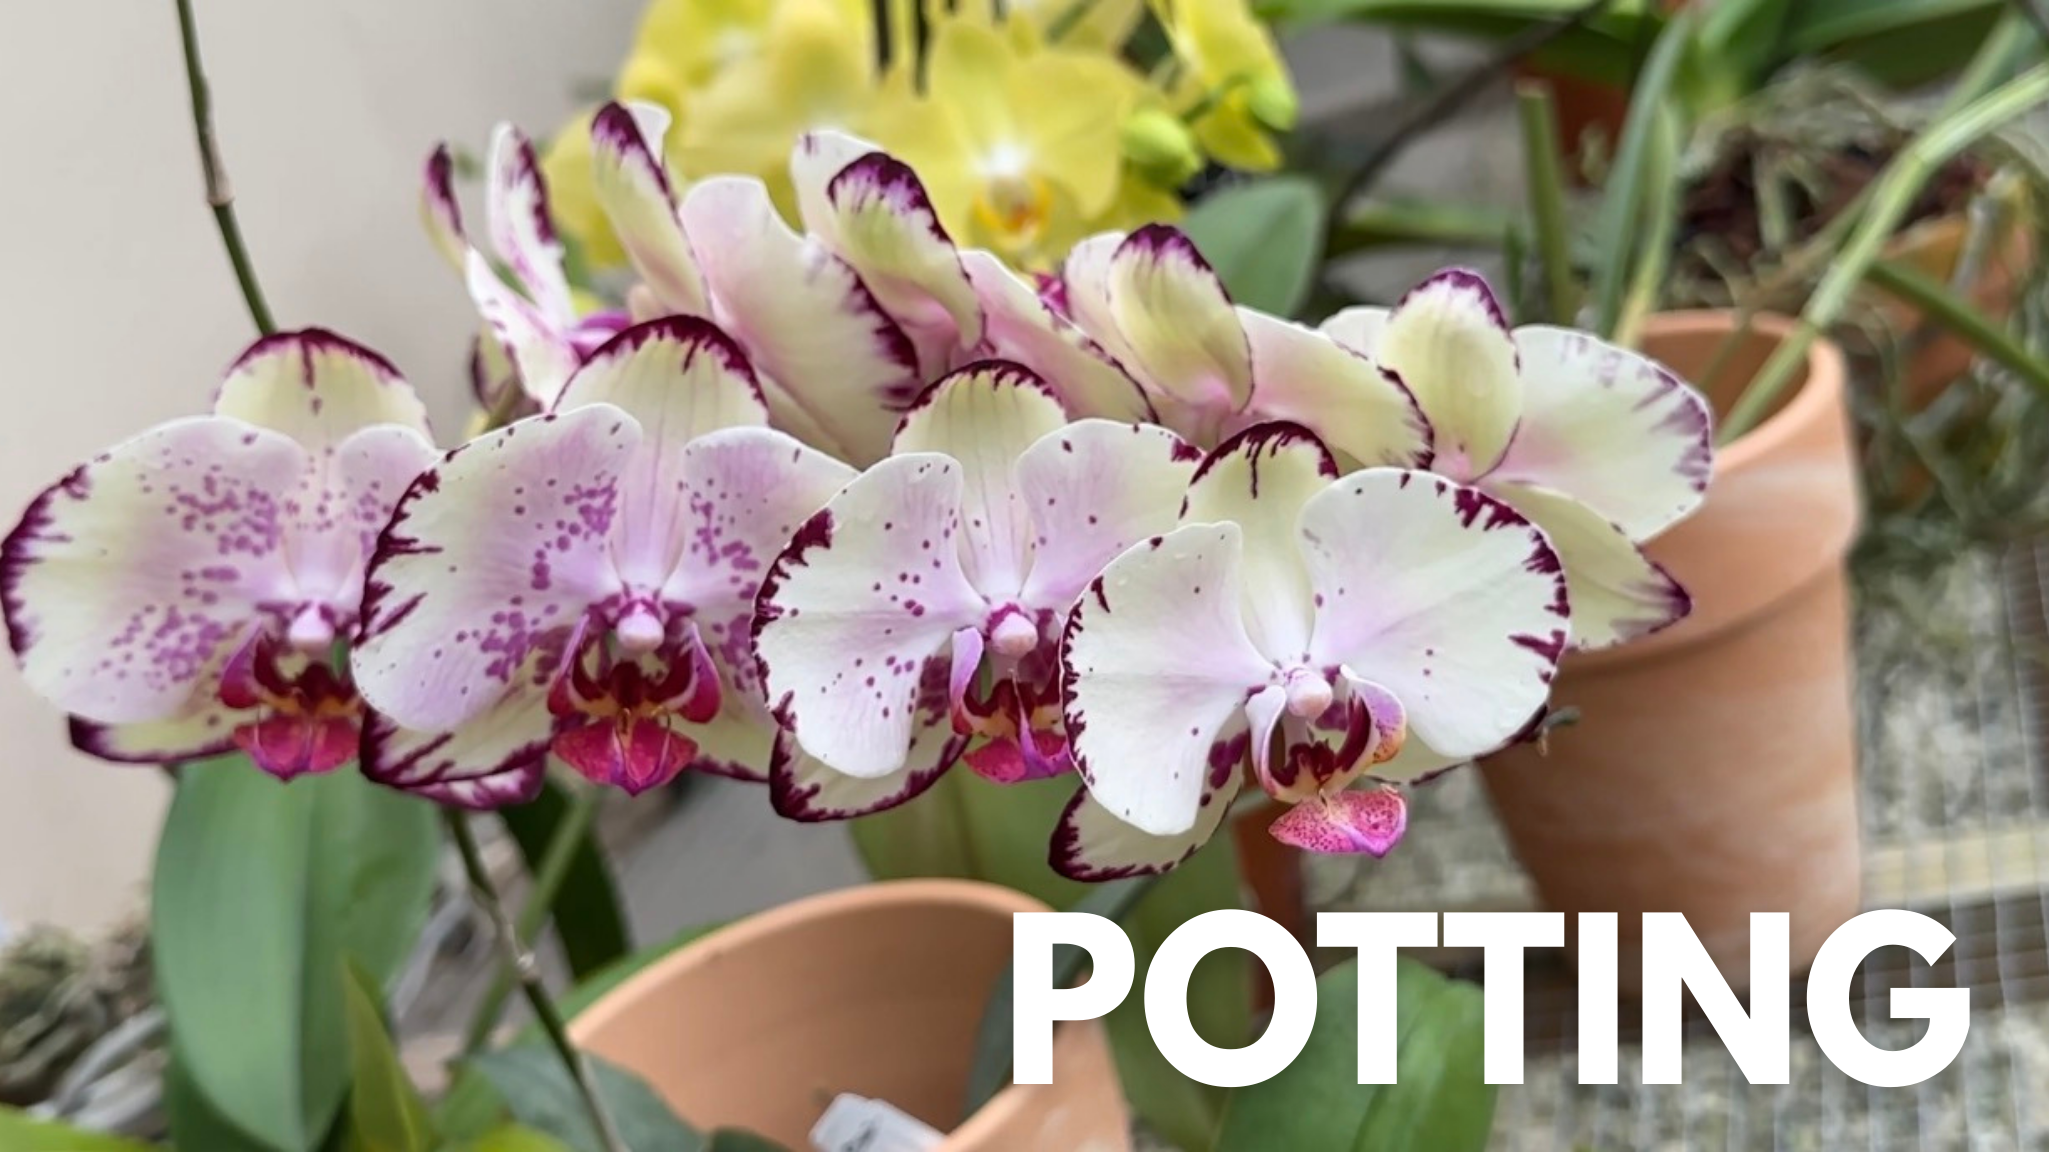
Potting should be done about once a year or sooner if necessary - after the plant has finished blooming.
Check to ensure that the roots are healthy and check the mix to make sure it hasn’t broken down too much. Gently remove the plant from its pot and shake off the old media. Trim any dead, soft or hollow roots with sterile scissors. Place the plant in a slightly larger pot and fill around the roots with fresh orchid bark or a well-draining orchid mix, keeping the crown above the media.
Water lightly after repotting and place the plant in bright, indirect light while it settles in.
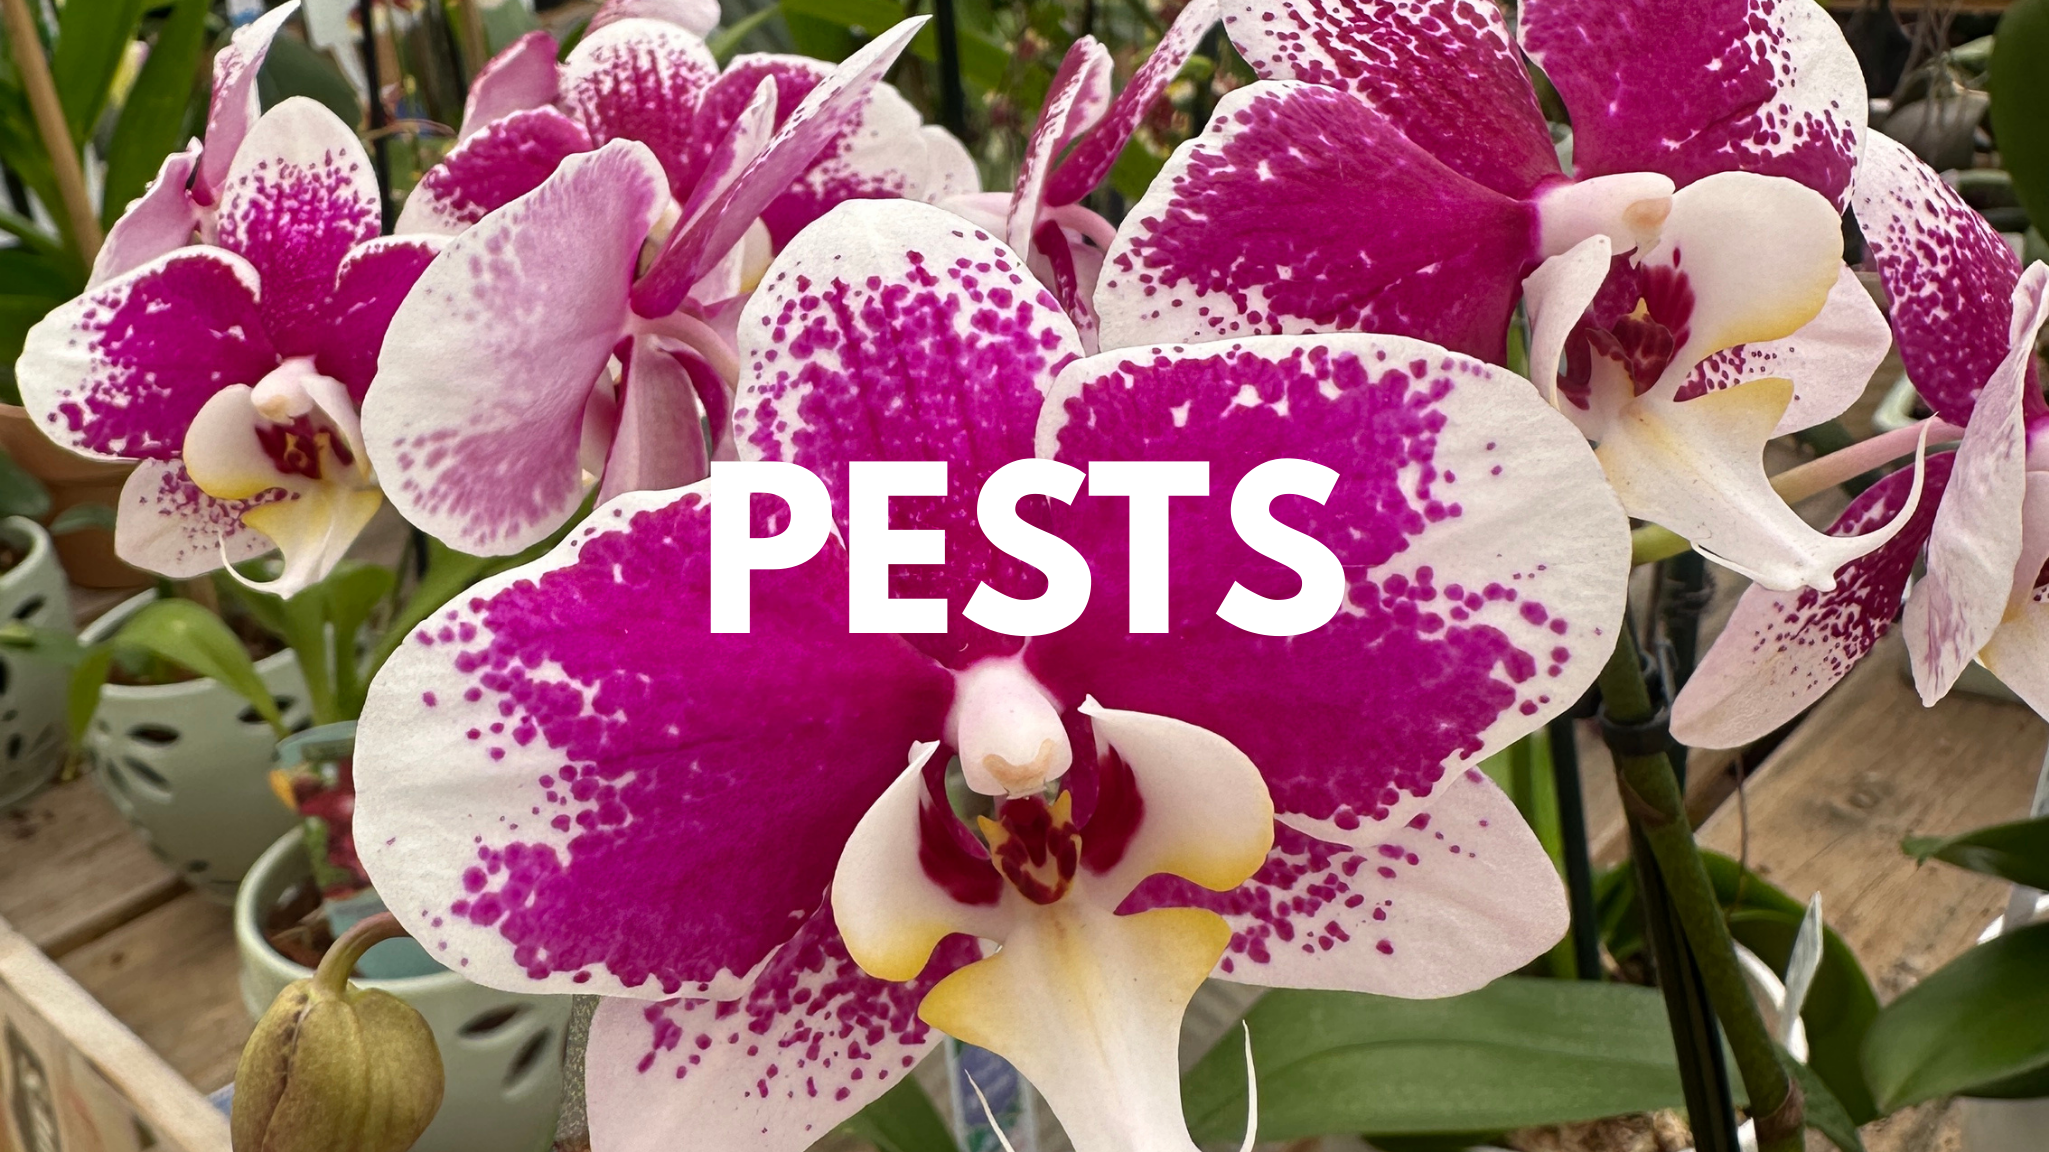
Mealybugs
Small white, cotton-like insects found on leaves, roots and in the crown. They suck plant sap and weaken the plant.
Control: Remove with cotton swabs dipped in alcohol and spray with insecticidal soap or horticultural oil.
Scale Insects
Small brown or tan bumps on leaves and stems that feed on plant sap. Heavy infestations cause yellowing and weakened growth.
Control: Scrape off manually and treat with horticultural oil or systemic insecticide.
Spider Mites
Tiny pests that cause fine speckling or silvery damage on leaves. Severe infestations may produce fine webbing. They thrive in hot, dry conditions.
Control: Rinse plants thoroughly and treat with insecticidal soap or miticide. Increase humidity and air movement.
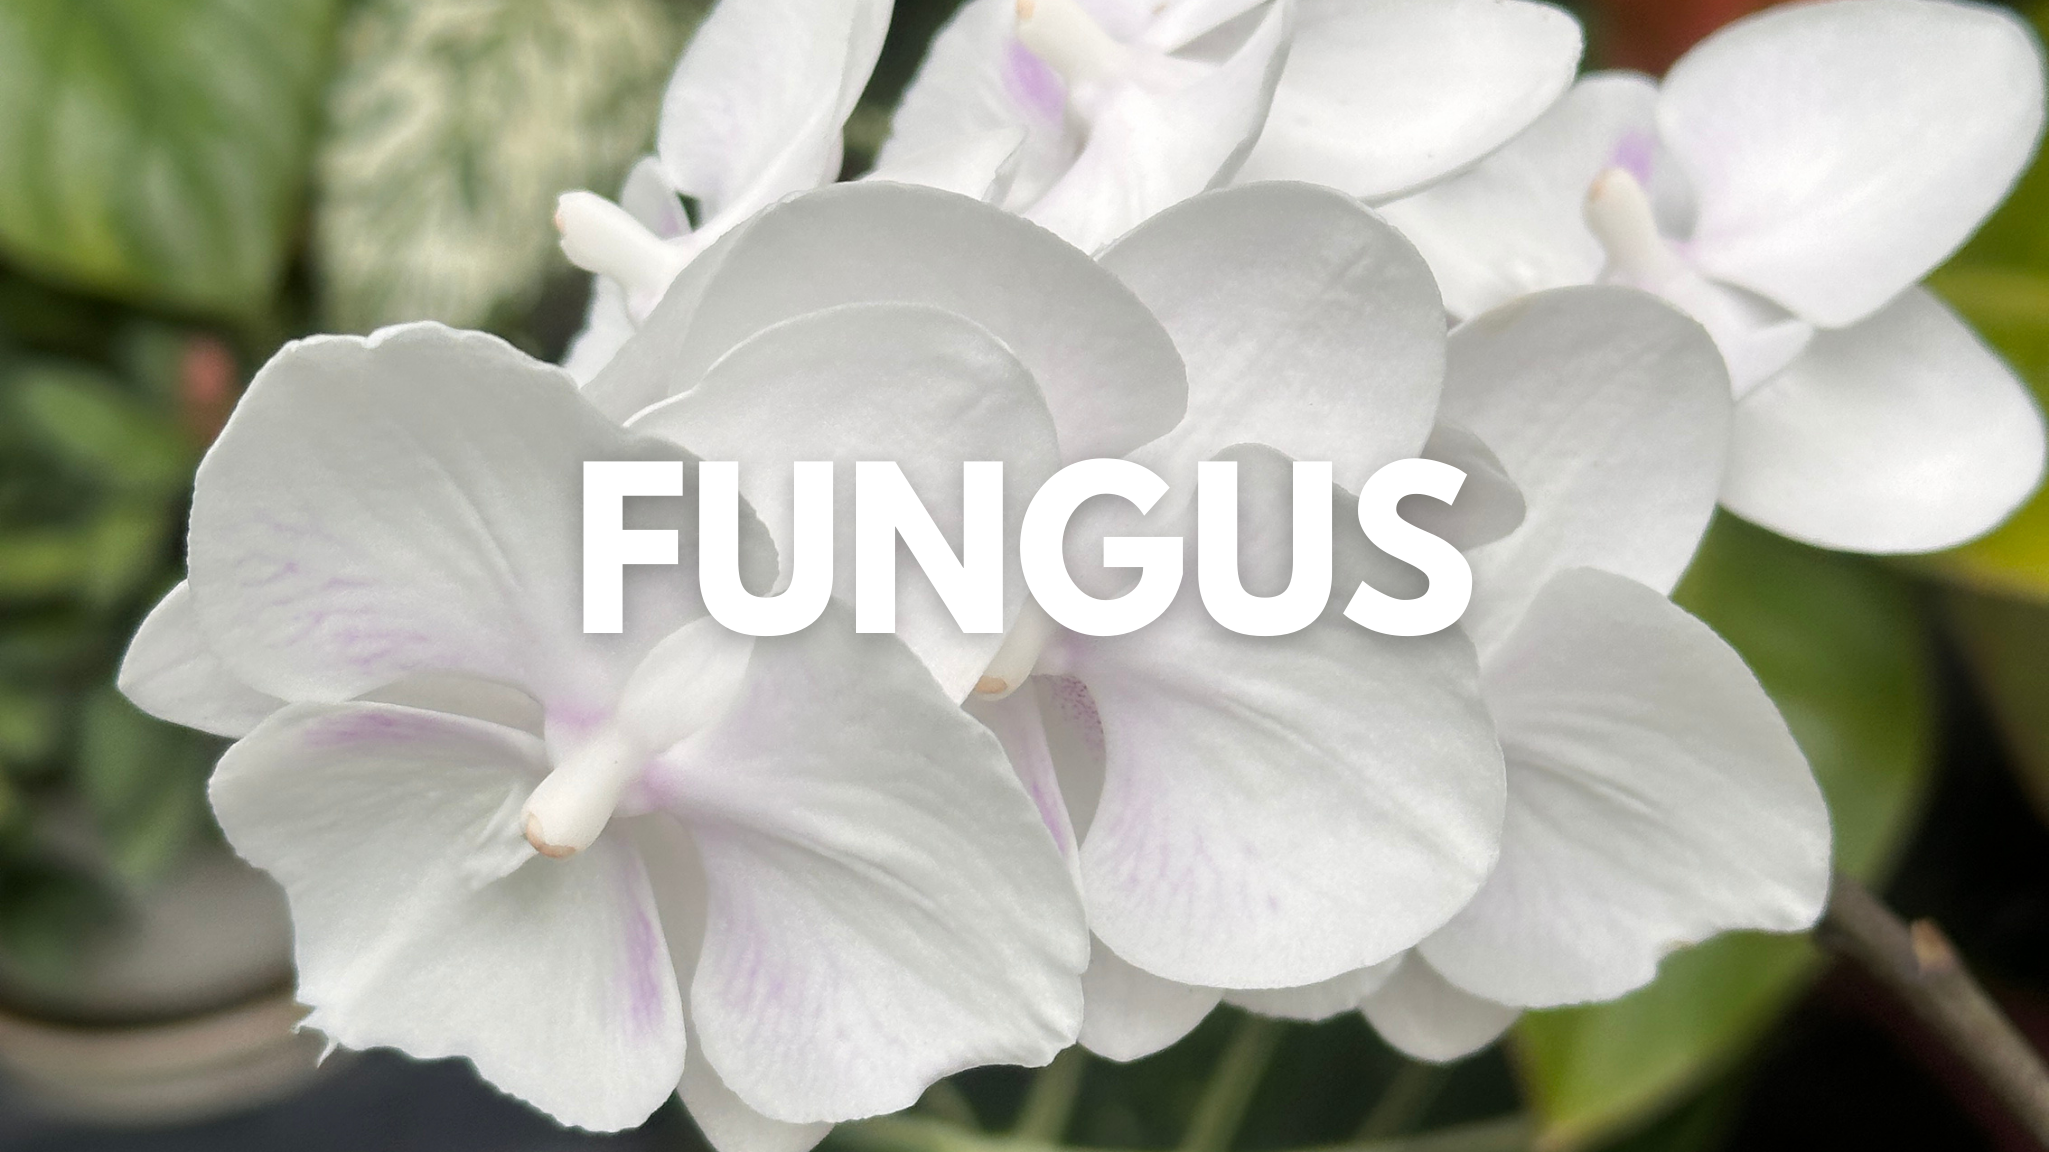
Phals can suffer from many fungal issues!
Botrytis (Petal Blight)
Affects flowers rather than leaves. Small brown or black spots appear on petals and may enlarge under cool, humid conditions.
Prevention: Remove infected flowers, reduce humidity, and improve air circulation.
Bacterial Brown Spot
Begins as small, water-soaked blisters that quickly turn brown or black and sunken. Spots may spread rapidly in warm, wet conditions.
Control: Remove infected tissue and treat with bactericides like Physan or copper. Avoid overhead watering.
Collar Rot (Sclerotium rolfsii)
The base of the plant turns yellow, then brown and collapses as roots rot. White fungal growth or small mustard-seed-like structures may appear.
Control: Remove infected tissue and treat with fungicides. Maintain good sanitation, airflow and avoid excessive moisture.
Contributers:
Michael Waithe & Shari Watson